Since Windows 10 Home doesn’t support Hyper-V, It’s harder to install a virtual OS for penetration testing. Since early 2018, Microsoft enabled installation of the very popular, free, and open-sourced Linux-based Operating System, Kali Linux. Now you can have Kali Linux on your Windows System without creating virtualization or dual boot.
Here are the Instructions on How to Install Kali Linux on Windows 10 Home.
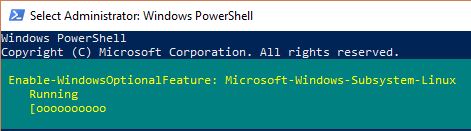
Step 1. Open Windows Powershell as Administrator and run this command,
Enable-WindowsOptionalFeature -Online -FeatureName Microsoft-Windows-Subsystem-Linux

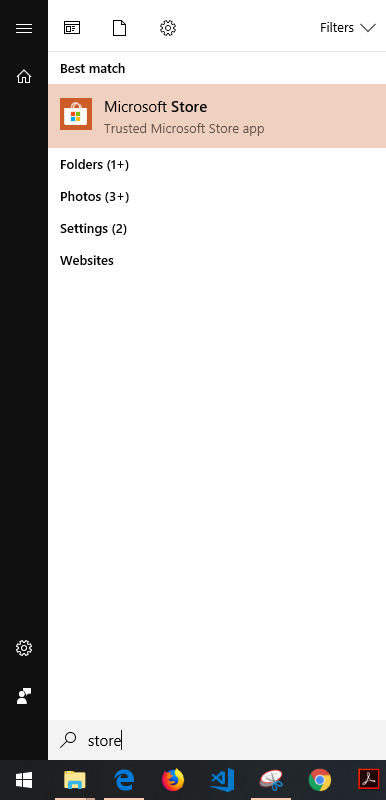
Step 2. After successfully enabling the optional feature, open Microsoft Store
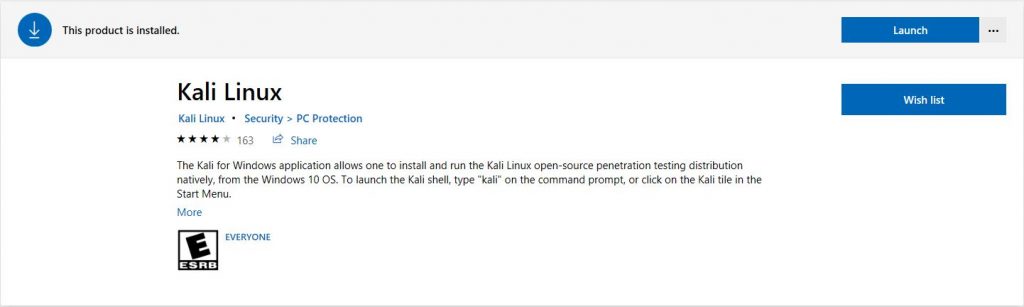
Step 3. Then search and install Kali Linux
Step 4. Run Kali Linux Application
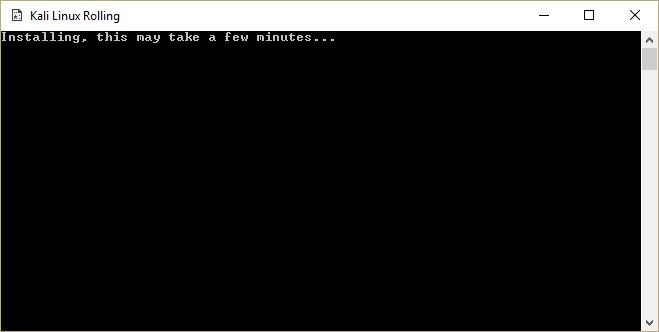
Note: This error will appear if you installed the Kali Linux application first before enabling the optional feature of windows.
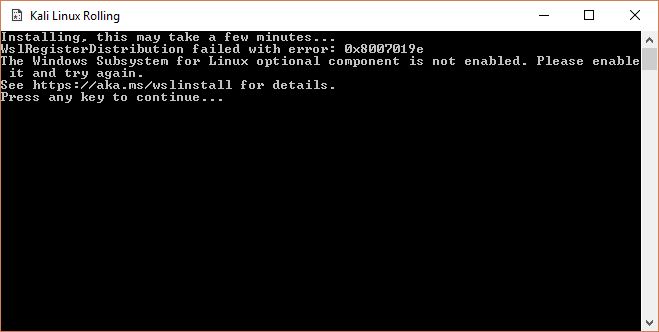
Restarting your machine will resolve this issue.
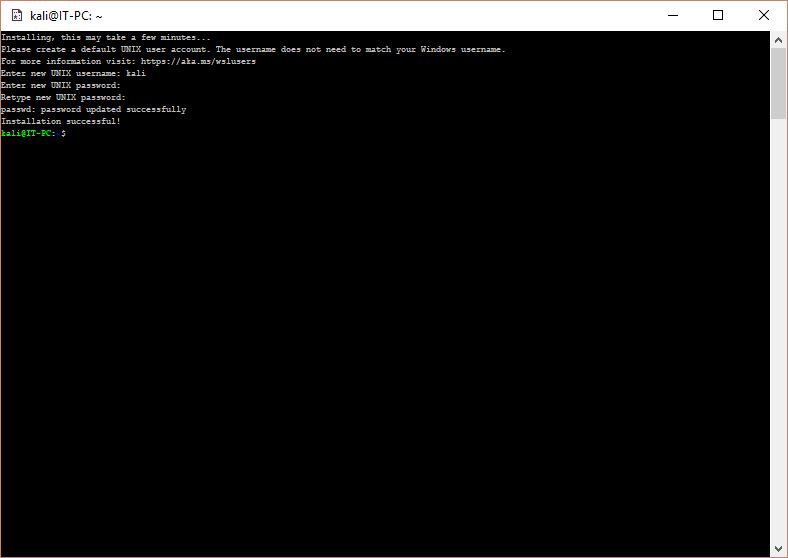
After successful installation, it will ask you to create an administrator username and password. Set those to your liking and that’s it, your ready to use your Kali Linux.
You might want to run the following commands after installation to keep your OS up to date.
sudo apt-get update
sudo apt-get dist-upgrade


Leave A Comment